How you can create a basic tailboard control box
2024-04-09
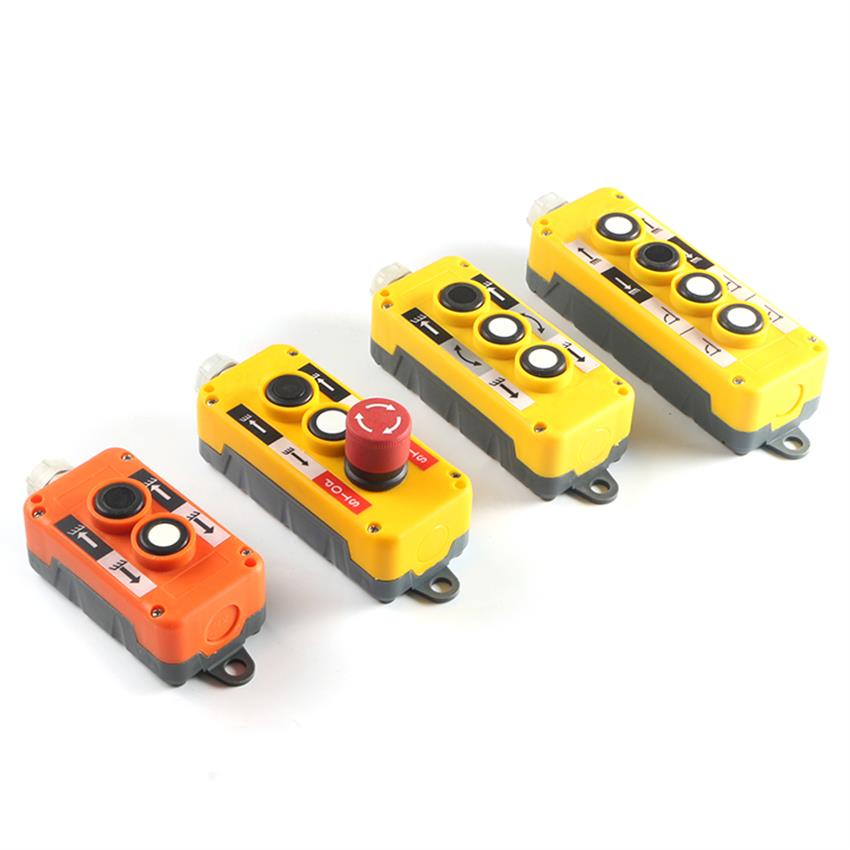
A tailboard control box, also known as a pendant control box, is a device used to remotely control the operation of machinery or equipment, typically in industrial settings. It allows an operator to control the movement and functions of equipment such as hoists, cranes, or other heavy machinery from a safe distance. Here's how you can create a basic tailboard control box:
1. Materials and Tools:
- Control box enclosure
- Control switches (push buttons, toggle switches, etc.)
- Emergency stop button
- Wiring and cables
- Terminal blocks or connectors
- Labels or markers
- Screwdrivers
- Wire strippers and crimpers
- Electrical tape or heat shrink tubing
- Mounting hardware (screws, brackets, etc.)
2. Design and Layout:
- Determine the layout and configuration of the control switches based on the functions you want to control (e.g., hoist up, hoist down, left/right movement).
- Decide on the placement of the switches and emergency stop button within the control box enclosure for ease of access and operation.
3. Assembly:
- Install the control switches and emergency stop button into the control box enclosure according to your layout design.
- Connect the switches and emergency stop button to the appropriate terminals or connectors using wiring and cables.
- Use wire strippers to strip the insulation from the ends of the wires, and crimp connectors onto the exposed wire ends.
- Connect the wires to the terminals on the switches and emergency stop button, ensuring proper polarity and secure connections.
- Label each switch and the emergency stop button with its corresponding function using labels or markers for easy identification.
4. Wiring:
- Route the wiring neatly within the control box enclosure, ensuring that there are no loose or exposed wires that could cause a short circuit.
- Use electrical tape or heat shrink tubing to insulate and protect the wiring connections.
- Connect the wiring to the terminal blocks or connectors inside the control box enclosure, ensuring proper routing and organization.
5. Testing:
- Before closing the control box enclosure, test each switch and the emergency stop button to ensure that they operate correctly and control the machinery as intended.
- Test the emergency stop button to ensure that it immediately halts all machinery operations when activated.
- Double-check all wiring connections and switches for any loose connections or issues.
6. Mounting:
- Once testing is complete, mount the control box enclosure in a convenient and accessible location near the machinery or equipment to be controlled.
- Use mounting hardware such as screws or brackets to secure the control box enclosure in place.
7. Final Checks:
- Perform a final visual inspection of the tailboard control box assembly to ensure that everything is securely mounted and properly connected.
- Confirm that all labels are legible and correctly identify the functions of each switch and the emergency stop button.
By following these steps, you can create a tailboard control box that provides reliable and safe remote control of machinery and equipment. Make sure to adhere to all relevant safety standards and regulations during the design and installation process. If you're unsure about any aspect of the assembly, consult with a qualified electrician or engineer for assistance.